Picking the right accent lighting can feel tricky, especially when you’re just starting out. You want your home to look its best, but all the options can be confusing. Don’t worry, we’re here to make it simple.
This guide will walk you through How to Choose Accent Lighting for Your Home step by step. We’ll cover everything you need to know to make smart choices that will make your space shine. Let’s get started on making your home look amazing!
Key Takeaways
- Accent lighting highlights specific features in a room.
- You’ll learn about different types of accent lights and where to use them.
- We’ll show you how to pick the right brightness and color for your needs.
- Discover tips for placing lights to create the best effect.
- Understand how accent lighting can make your home feel more inviting.
- Get ready to transform your living space with smart lighting choices.
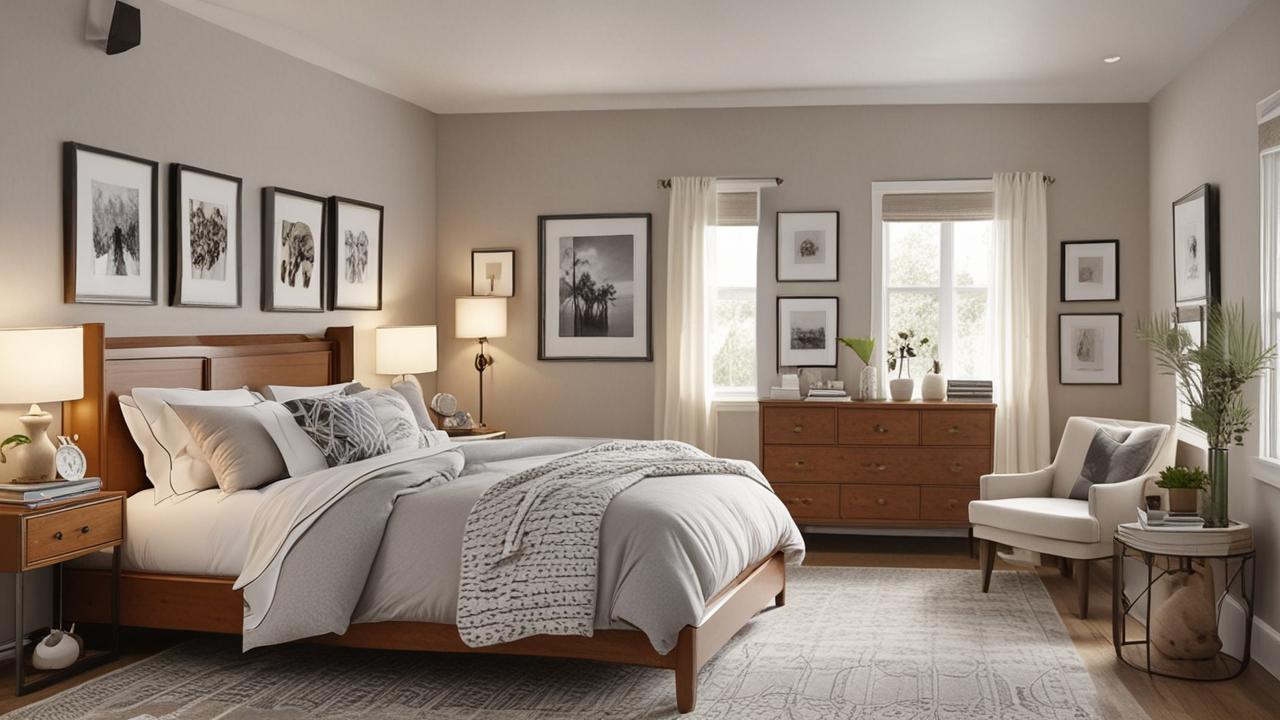
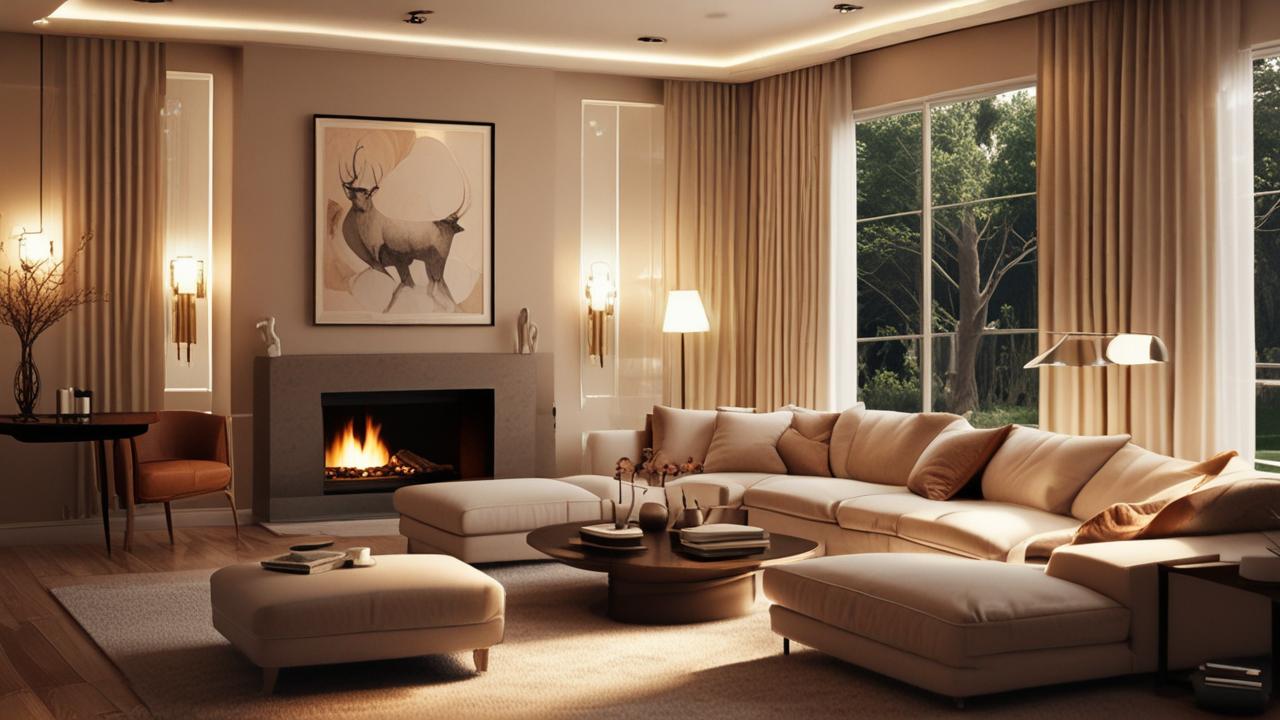
Understanding Accent Lighting Basics
Accent lighting is all about drawing attention to particular parts of your home. It’s not meant to light up the whole room; instead, it acts like a spotlight. Think of it as the jewelry for your home’s decor.
It makes art, plants, or architectural details stand out. Beginners often find it challenging because it involves more than just screwing in a bulb. You need to think about what you want to show off and how the light will make it look.
We’ll break down how to do this easily.
What is Accent Lighting?
Accent lighting is a type of decorative lighting used to draw attention to specific objects or areas within a space. Its primary purpose is to create visual interest and highlight architectural features, artwork, or decorative items. Unlike ambient lighting, which provides general illumination, or task lighting, which focuses on specific activities, accent lighting is about adding drama and depth.
It can make a room feel more dynamic and sophisticated.
- It focuses light on a small area, usually about three times brighter than the surrounding light.
- This helps make items pop out and become a focal point.
- Common targets for accent lighting include paintings, sculptures, plants, and textured walls.
The goal is to create a spotlight effect. Imagine a beautiful painting on a wall. Without accent lighting, it might just blend in.
With a well-placed accent light, the painting becomes the star of the room. This can dramatically change the mood and feel of a space. It’s a simple yet powerful way to enhance your home’s interior design.
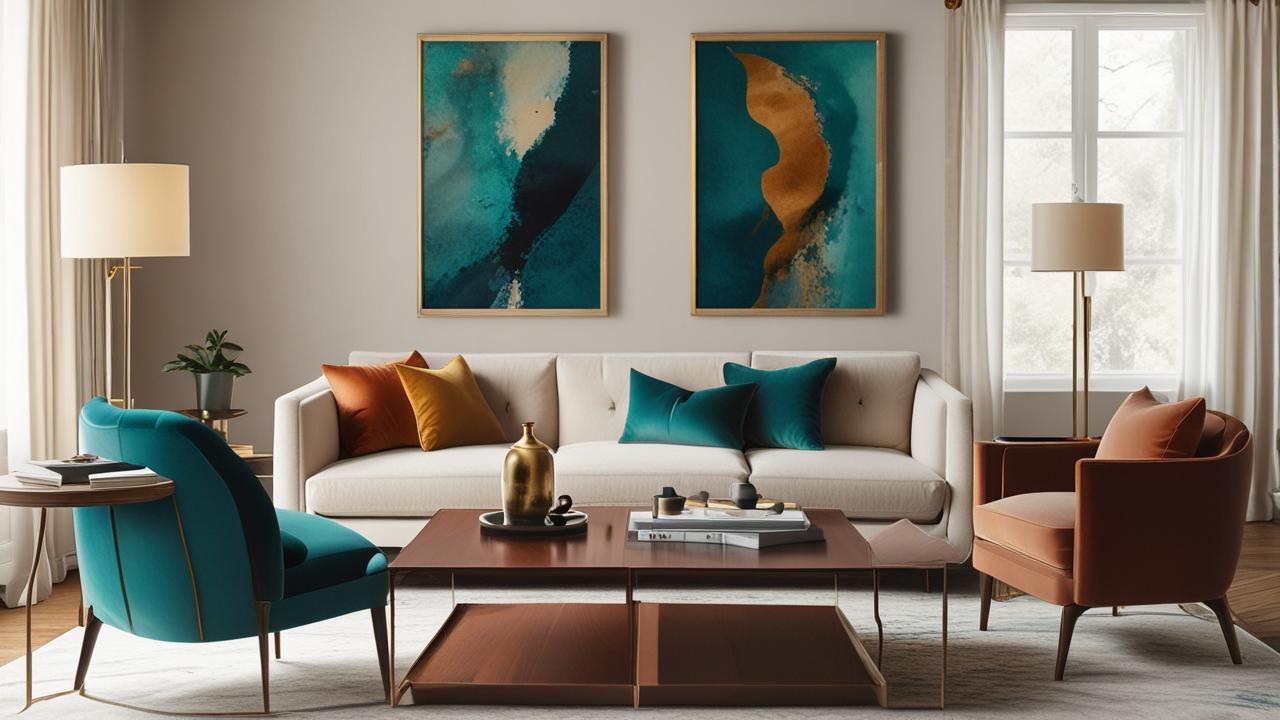
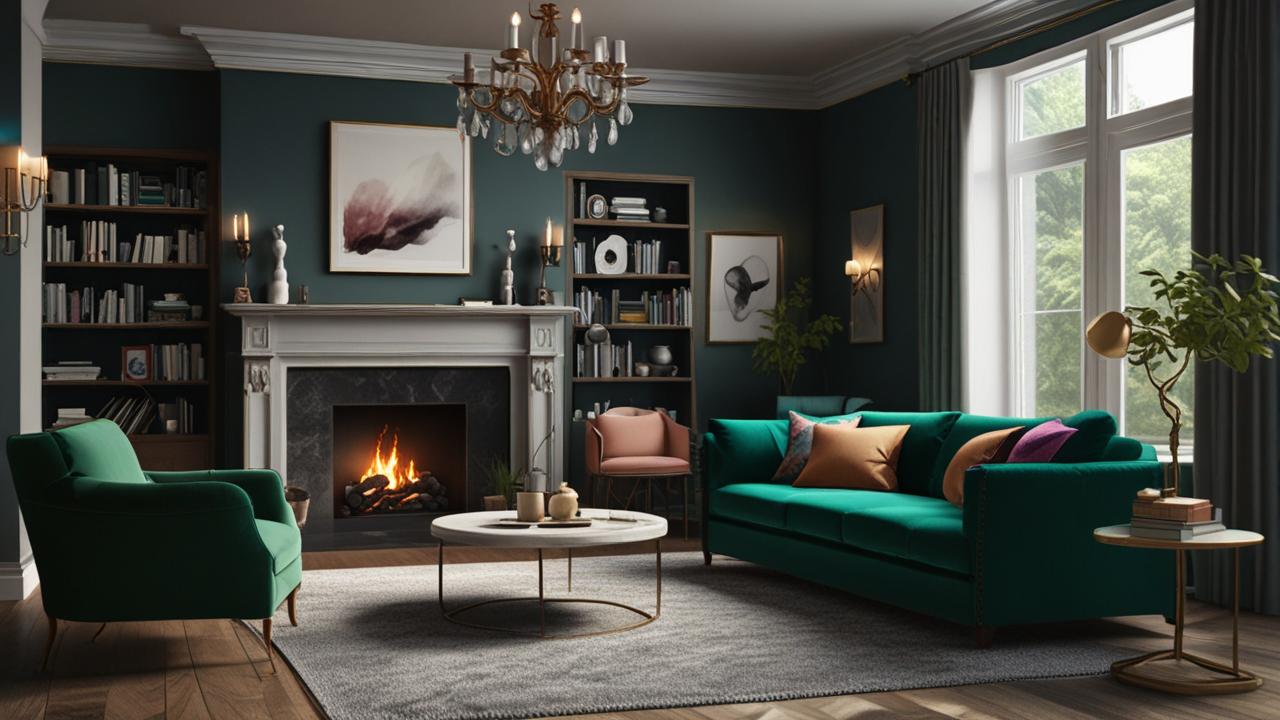
Why Use Accent Lighting?
Accent lighting does more than just make things look pretty; it plays a big role in how a room feels. It can add warmth and coziness, or it can create a more dramatic and elegant atmosphere. By drawing the eye to specific features, it can also make a room appear larger or more interesting.
It’s a great way to show off your personal style and the things you love in your home.
- It adds visual depth and interest to a room.
- It can create a mood, making a space feel more intimate or dramatic.
- It highlights your favorite decor items, making them stand out.
- It can make a room feel more luxurious and well-designed.
Think about a bookshelf filled with books and photos. A little accent light can make each item seem more special. It transforms ordinary objects into something worth noticing.
This is the magic of accent lighting in action. It’s about careful placement and thoughtful choices to make your home truly shine.
Types of Accent Lights and Their Uses
There are several kinds of lights you can use for accent lighting, and each works best in different situations. Knowing these options will help you pick the perfect light for what you want to highlight. From small spotlights to subtle strips, each has its own special job to do.
Spotlights and Track Lighting
Spotlights are designed to focus a beam of light on a specific spot. They are very effective for highlighting artwork or architectural features. Track lighting systems allow you to mount multiple spotlights on a single track, giving you flexibility to change their positions.
This is great if you like to rearrange your decor often.
- Adjustable Spotlights: These can be moved to point in different directions, making them very versatile.
- Recessed Spotlights: These are installed directly into the ceiling, creating a clean, built-in look.
- Track Lighting: A series of lights mounted on a track, allowing for easy adjustment and aiming.
Imagine you have a collection of framed photos on a wall. You could use a few adjustable spotlights to illuminate each photo individually. This makes each picture stand out and become a feature.
Track lighting is also popular for gallery walls or highlighting longer pieces of art.
Picture Lights
Picture lights are specifically designed to shine light directly onto artwork. They are usually mounted above a painting or photograph and are often long and narrow. These lights provide a soft, even glow that illuminates the artwork without casting harsh shadows.
- LED Picture Lights: Energy-efficient and long-lasting, available in various lengths and finishes.
- Battery-Operated Picture Lights: Offer easy installation without needing to run wires, ideal for renters.
- Hardwired Picture Lights: Provide a more permanent and polished look, often with dimming capabilities.
When selecting a picture light, consider the size of your artwork. The light should be wide enough to cover the entire piece without spilling too much light onto the wall around it. The color of the light should also be considered to ensure it accurately represents the colors in the artwork.
Uplights and Downlights
Uplights are placed on the floor or a low surface and direct light upwards, often highlighting wall textures or tall plants. Downlights are placed above and shine light downwards, which can be used to highlight objects on a surface or create dramatic shadows.
- Uplights: Excellent for creating dramatic shadows on textured walls or illuminating large plants.
- Downlights: Can be used to highlight tables, counters, or specific spots on the floor.
- Adjustable Heads: Many uplights and downlights have adjustable heads, allowing you to control the direction of the light.
For example, placing an uplight behind a tall palm plant can create a beautiful silhouette against a wall. A downlight above a coffee table could draw attention to a decorative centerpiece. These lights add a dynamic element to a room’s lighting scheme.
Shelf and Cabinet Lighting
These are small lights, often LED strips or puck lights, installed inside or under shelves and cabinets. They are perfect for showcasing collectibles, glassware, or even just making it easier to see what’s inside.
- LED Strips: Flexible and easy to install, they can be cut to size and adhere to surfaces.
- Puck Lights: Small, round lights that can be screwed or stuck in place, often battery-operated.
- Integrated Lighting: Some furniture comes with built-in lighting.
Think about a glass-fronted cabinet filled with fine china. Lighting it from within makes each piece sparkle and draws the eye to the display. Similarly, lighting under kitchen cabinets can highlight your countertops and make food preparation easier.
Choosing the Right Brightness and Color
The brightness, or lumen output, and the color of your accent lights are very important. They can change the whole mood of your room. Too bright, and it might be harsh; too dim, and it won’t have the desired effect.
The color temperature also plays a huge role in how things look.
Understanding Lumens
Lumens measure how bright a light source is. For accent lighting, you typically want a higher lumen output than ambient lighting because you’re trying to make a specific area stand out. However, you don’t want it to be overpowering.
- Low Lumens (Under 200): Good for subtle highlights or very small areas.
- Medium Lumens (200-500): Suitable for most artwork and small decorative objects.
- High Lumens (500+): Best for larger items or creating a more dramatic spotlight effect.
It’s also important to consider dimmability. Being able to adjust the brightness allows you to fine-tune the effect for different times of day or moods. A dimmer switch gives you a lot of control over the intensity of your accent lighting.
Color Temperature: Warm vs. Cool
Color temperature is measured in Kelvin (K). It describes how warm or cool the light appears. Warm light is more yellowish, like an old incandescent bulb, while cool light is more bluish, like daylight.
- Warm White (2700K-3000K): Creates a cozy, inviting atmosphere. Ideal for living rooms and bedrooms.
- Neutral White (3500K-4000K): A balanced light that is good for kitchens and bathrooms.
- Cool White/Daylight (5000K-6500K): Bright and energizing, best for task areas or spaces where you need high visibility.
For accent lighting, warm white is usually preferred because it enhances the natural colors of objects and creates a more comfortable ambiance. However, if you’re highlighting a very modern piece of art or a cool-toned decor item, a neutral or even a slightly cooler light might be more appropriate.
Color Rendering Index (CRI)
The Color Rendering Index (CRI) tells you how accurately a light source reveals the true colors of objects. A higher CRI means colors will look more natural and vibrant.
- CRI 80-89: Good for general lighting and most accent lighting applications.
- CRI 90+: Excellent for highlighting artwork, collectibles, or anything where color accuracy is crucial.
If you are accent lighting a colorful painting or a display of vibrant textiles, a high CRI light is essential. It ensures that the colors you see under the light are the true colors of the objects themselves, not distorted by the light source.
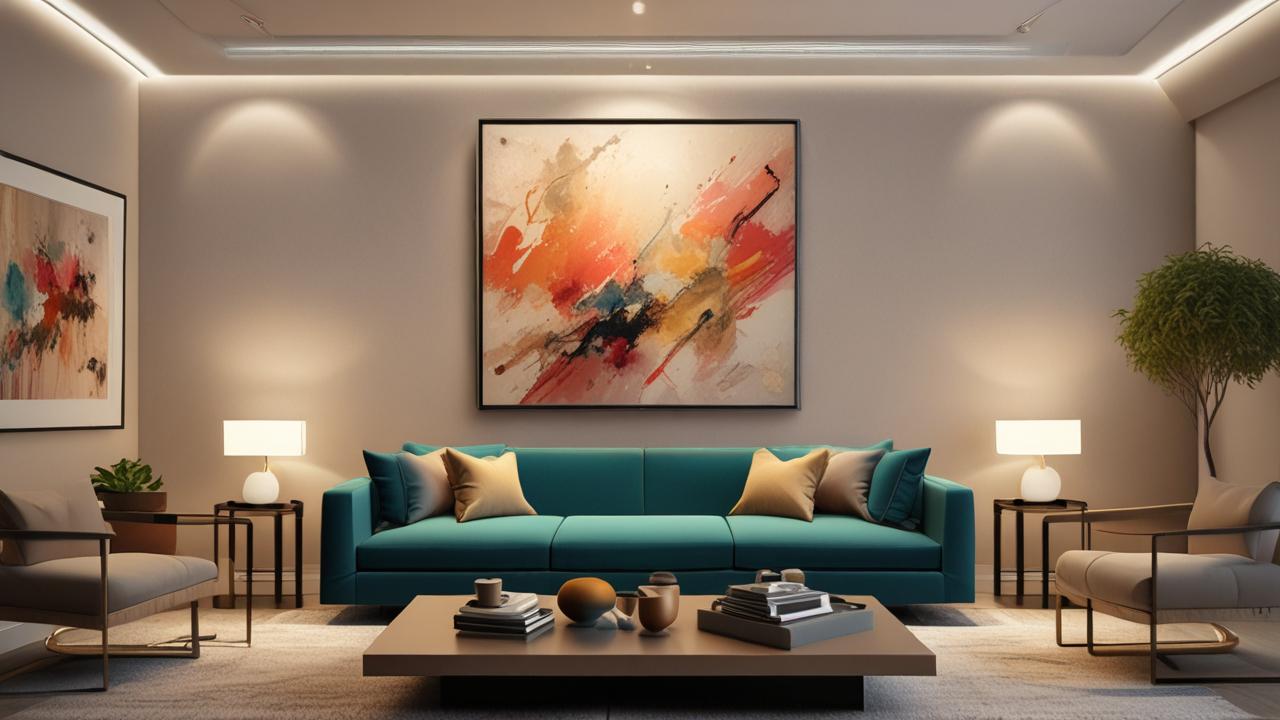
Strategic Placement for Maximum Impact
Where you place your accent lights is just as important as the type of light you choose. The right placement can make all the difference between a subtle highlight and a stunning focal point. Think about what you want to draw attention to and how light naturally falls.
Highlighting Artwork and Collectibles
For artwork, the light should generally be placed above the piece and aimed downwards. This mimics natural light and prevents glare. The beam angle of the light should be narrow enough to illuminate just the artwork.
- Angle: Aim lights at a 30-degree angle from the vertical to avoid direct glare.
- Distance: Position the light source about 1 to 3 feet away from the artwork, depending on its size.
- Beam Spread: Choose a light with a narrow beam spread to focus the light precisely.
A common mistake is to use a light that’s too wide, washing out the artwork and illuminating too much of the wall. For collectibles on shelves, small puck lights or LED strips placed under the shelf above can cast a beautiful glow downwards.
Emphasizing Architectural Features
Architectural details like textured walls, columns, or fi
- Wall Washing: Placing lights a few feet away from the wall and aiming them straight up can create a soft, even wash of light.
- Wall Grazing: Placing lights very close to a textured surface and aiming them up or down will create strong shadows that emphasize texture.
- Highlighting Niches: Small spotlights can be used to draw attention to decorative niches or built-in shelving.
Consider a brick accent wall. Using a few strategically placed uplights will reveal the rough texture and depth of the bricks in a way that general room lighting cannot. This can transform a plain wall into a statement piece.
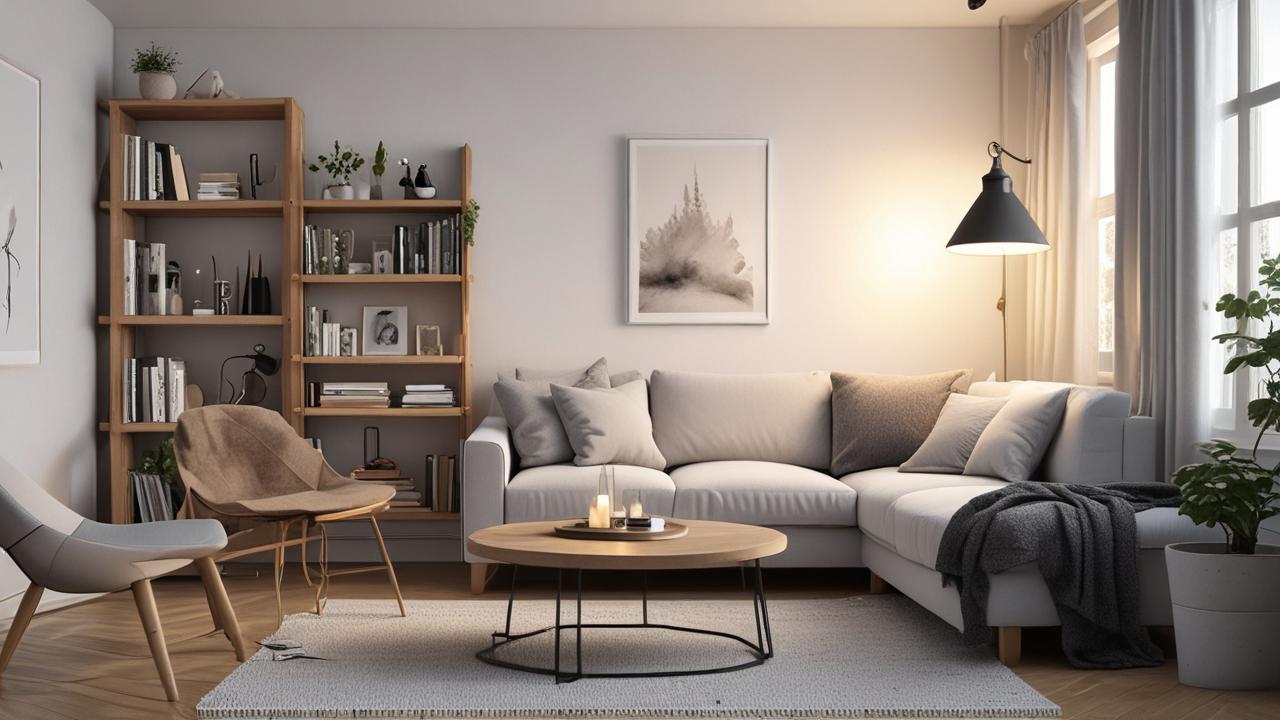
Creating Ambiance and Mood
Accent lighting is also excellent for setting a mood. Soft, warm lights placed inconspicuously can make a room feel more intimate and relaxing. For instance, small lights tucked behind furniture or plants can create a gentle glow.
- Indirect Lighting: Bounce light off surfaces like walls or ceilings for a soft, diffused effect.
- Hidden Lights: Install lights in coves, under cabinets, or behind furniture to create a sense of mystery and depth.
- Layering Light: Combine different types of accent lighting for a rich, layered look.
Imagine a living room with dimmable spotlights aimed at a large plant in the corner, and a few LED strips under a media console. This creates a warm, inviting atmosphere that’s perfect for relaxing evenings.
Scenario 1: The Living Room Gallery Wall
You have a wall filled with framed photos and art. You want to make sure each piece is seen and appreciated.
- Choose your lights: Select small, adjustable LED spotlights with a narrow beam angle. Opt for a warm color temperature (around 2700K) and a high CRI (90+) to ensure true colors.
- Plan the layout: Measure the height and width of each piece of art.
- Position the lights: Mount a spotlight above each artwork. Aim it down at about a 30-degree angle from the wall. Position the light so its beam covers the artwork without spilling significantly onto the wall. For different sizes, adjust the distance from the wall.
- Adjust brightness: If your lights are dimmable, set them to a level that highlights the art without being overpowering compared to the room’s ambient light.
This approach ensures each piece is illuminated individually, creating a professional gallery feel in your own home.
Common Pitfalls to Avoid
Even with the best intentions, it’s easy to make mistakes with accent lighting. Knowing what to look out for can save you from an unflattering or ineffective lighting setup. Let’s cover some of the most common issues.
Overdoing It
One of the biggest mistakes is using too many accent lights or making them too bright. This can make a room feel busy and harsh, rather than elegant. Accent lighting should draw attention to specific features, not compete with every surface.
- Rule of Thumb: Aim to use accent lighting to highlight only 1-3 key features in a room.
- Balance: Ensure your accent lights complement, not overpower, your ambient and task lighting.
- Contrast: The accent light should be noticeably brighter (about 3-5 times) than the surrounding light, but not blindingly so.
If every corner of the room has a bright light pointing at something, the effect is lost. The goal is to create focal points, not a disco.
Incorrect Beam Angles and Focus
Using lights with a wide beam angle for a small object or artwork will spread the light too much, losing its intended impact. Conversely, a beam that’s too narrow might only light up a tiny spot, leaving the rest of the object in shadow.
- Match the Beam to the Object: A narrow beam is for small items or specific details. A wider beam might work for a textured wall.
- Avoid Glare: Position lights so they don’t shine directly into people’s eyes or create annoying reflections on surfaces like glass or shiny paint.
- Test Before Installation: If possible, test lights in their intended positions to see the effect before making anything permanent.
For instance, lighting a portrait with a very wide beam will wash out the details and the face itself. A precisely aimed, narrower beam will bring out the nuances.
Poor Color Choices
Using lights with a low CRI means colors won’t look true. A painting might look dull, or a brightly colored sofa could appear washed out. Similarly, using a cool, bluish light in a cozy living room can make the space feel sterile.
- Prioritize CRI for Art: Always look for lights with a CRI of 90 or higher when illuminating artwork or items where color is important.
- Match Color Temperature to Mood: Use warm white (2700K-3000K) for cozy spaces and neutral to cool white for functional areas or modern designs.
- Consistency: Try to maintain a consistent color temperature for accent lights within the same room for a cohesive look.
Imagine investing in beautiful, colorful decor only to have it look drab because your lights aren’t showing its true vibrancy. That’s why CRI matters.
Ignoring Dimmability
Not all accent lights are dimmable, but having this feature adds immense flexibility. You might want a bright spotlight during the day to showcase a sculpture, but a softer glow in the evening for ambiance.
- Install Dimmers: If possible, install dimmer switches on your accent lighting circuits.
- Choose Dimmable Bulbs: Ensure the LED bulbs you choose are specifically marked as dimmable.
- Experiment with Brightness: Use dimmers to find the perfect level of brightness for different times and occasions.
Dimmable lights allow you to adapt your accent lighting to various needs and moods without changing the fixtures themselves.
Real-Life Examples of Accent Lighting
Seeing accent lighting in action can really help you understand its potential. These examples show how it can transform different spaces and highlight various features.
Example 1: The Dramatic Entryway
A homeowner wanted to create a welcoming yet elegant entryway. They had a large, abstract painting and an interesting textured console table.
- Artwork Illumination: A slender, dimmable LED picture light with a high CRI was installed above the abstract painting. This brought out the vibrant colors and textures of the artwork.
- Console Table Spotlight: A small, adjustable uplight was placed on the floor behind the console table, angled upwards to highlight the textured wood grain.
- Ambient Light: Existing ceiling lights provided general illumination, while the accent lights focused attention on the key features.
The result was a dramatic and sophisticated entryway that immediately impressed visitors. The artwork became a focal point, and the console table’s texture was revealed in a captivating way.
Example 2: Kitchen Countertop Enhancement
A kitchen lacked visual appeal despite having beautiful granite countertops. The cabinets felt dark and uninviting.
- Under-Cabinet Lighting: Flexible LED strip lights were installed beneath the upper cabinets, casting a warm glow down onto the countertops.
- Task and Accent: This served a dual purpose: providing excellent task lighting for food preparation and highlighting the intricate patterns and colors of the granite.
- Pendant Light: A single pendant light above the island served as ambient lighting and a decorative element.
The kitchen felt brighter, more spacious, and the countertops popped with their beautiful natural patterns. The under-cabinet lighting also added a touch of luxury.
Example 3: Garden Feature Spotlight
A homeowner wanted to enjoy their garden even after dark. They had a particularly beautiful sculpture in the center of their yard.
- Landscape Spotlights: Low-voltage, weather-resistant spotlights were buried in the ground a few feet away from the sculpture, angled upwards.
- Creating Drama: These lights cast a dramatic shadow of the sculpture onto the surrounding trees and fence, adding depth and visual interest to the nightscape.
- Subtle Illumination: The sculpture itself was softly illuminated, allowing its form and detail to be appreciated from the house.
This transformed the garden into an enchanting space at night. The interplay of light and shadow created a captivating outdoor display.
How to Choose Accent Lighting for Your Home: A Step-by-Step Guide
Now that you know the basics, let’s put it all together. Follow these steps to confidently choose the right accent lighting for your home.
Step 1: Identify What to Highlight
Walk through your home and decide what you want to draw attention to. Is it a piece of art, a favorite piece of furniture, a unique architectural detail, a large plant, or a textured wall? Make a list of these features.
- Be specific: Instead of “the living room,” think “the abstract painting above the fireplace” or “the large ficus tree in the corner.”
- Consider the mood: What feeling do you want to create? Dramatic, cozy, elegant?
- Think about function: Does the item need to be highlighted for practical reasons, or purely for aesthetics?
This first step is crucial. It gives you a clear goal for your lighting choices.
Step 2: Choose the Right Type of Fixture
Based on what you want to highlight, select the best type of accent light.
- Artwork: Picture lights, adjustable spotlights.
- Textured Walls: Uplights, wall washers.
- Plants: Uplights, spotlights aimed upwards.
- Shelves/Cabinets: LED strips, puck lights.
- Architectural Features: Spotlights, uplights, downlights.
Don’t be afraid to mix and match different types of fixtures to achieve the desired effect.
Step 3: Determine Brightness (Lumens) and Color Temperature
Consider the size of the item and the overall room.
- Brightness: Generally, aim for a light that is 3-5 times brighter than the ambient light in the area. Use dimmers for flexibility.
- Color Temperature: Warm white (2700K-3000K) is usually best for a cozy feel. Neutral white (3500K-4000K) is good for a balanced look.
- CRI: Always choose lights with a CRI of 90+ for artwork and anything where color accuracy is important.
Testing a few options if possible can help you find the perfect balance.
Step 4: Plan the Placement
Think about the angle, distance, and beam spread.
- Angle: For artwork, aim from above at an angle. For texture, place lights at the base or sides.
- Distance: Adjust distance to control the spread and intensity of the light.
- Beam Spread: Choose a narrow beam for small objects and a wider beam for larger features.
Visualize the light on the object before making it permanent.
Step 5: Install and Adjust
Once everything is chosen, it’s time to install. After installation, turn on the lights and make adjustments. Dimmer switches are your best friend here.
Play with the brightness and angles until you achieve the effect you’re looking for. Step back and view it from different parts of the room.
- Check for Glare: Ensure there are no uncomfortable reflections or direct light shining into eyes.
- Refine Aim: Slightly adjust the aim of spotlights to get the perfect coverage.
- Test with Dimmer: Use the dimmer to see how the accent light changes the mood at different levels.
Lighting design is often about fine-tuning. Don’t be afraid to tweak until it’s just right.
Frequently Asked Questions
Question: What is the main difference between ambient, task, and accent lighting?
Answer: Ambient lighting provides general, overall illumination for a room. Task lighting is focused on specific activities, like reading or cooking. Accent lighting highlights particular objects or features to draw attention to them.
Question: Can I use accent lighting in a small room?
Answer: Yes, absolutely! Accent lighting can make a small room feel more dynamic and interesting by drawing the eye to specific features. Just be careful not to overdo it; focus on one or two key items.
Question: How do I avoid harsh shadows with accent lighting?
Answer: To avoid harsh shadows, consider the angle of your light. A wider beam spread or placing the light slightly further away can soften shadows. Also, ensure your ambient lighting provides a good base level so the accent light isn’t the only source.
Question: Are LED lights good for accent lighting?
Answer: Yes, LED lights are excellent for accent lighting. They are energy-efficient, long-lasting, and come in a wide range of colors and brightness levels. Many LEDs also offer high CRI, which is important for accurate color rendering.
Question: How close should an accent light be to the object it’s highlighting?
Answer: This depends on the size of the object and the beam spread of the light. For artwork, the light is typically mounted above and a few feet away. For smaller objects or textures, you might place lights closer for a more focused effect.
It’s best to experiment to see what looks good.
📌 Check our Pinterest Profile for more inspiration
View on PinterestFinal Thoughts
Choosing accent lighting for your home becomes much simpler when you break it down. You’ve learned to identify what to highlight, pick the right fixture, and consider brightness and color. By placing lights thoughtfully, you can make your favorite items stand out and create a wonderful atmosphere.
Enjoy your beautifully lit space!