To clean a vacuum cleaner, first unplug it and empty the dustbin or replace the bag. Next, clean the filters, brush roll, and attachments using a soft brush or cloth.
Maintaining a clean vacuum cleaner is essential for optimal performance and longevity. Over time, dust and debris can clog filters, and hair can entangle brush rolls, leading to inefficiency. A well-maintained vacuum not only ensures a cleaner home but also saves you time and money by avoiding frequent repairs or replacements.
This step-by-step guide aims to simplify the cleaning process, making it a hassle-free task that can easily become part of your regular household maintenance routine. By following these straightforward steps, you can keep your vacuum running smoothly and your floors immaculate. Remember, a clean vacuum is the secret to a dust-free and healthy living space.
Introduction To Vacuum Maintenance
A clean vacuum is a happy vacuum. Like any machine, vacuums need love too. Regular maintenance keeps them at peak performance. This guide walks you through the steps.
Importance Of Regular Cleaning
Dirt and debris can clog your machine. This makes it work harder. Over time, it can lead to damage. Cleaning your vacuum regularly prevents this.
Benefits For Performance And Lifespan
A well-maintained vacuum performs better. It also lasts longer. Clean filters and empty canisters mean more power and efficiency. Regular care saves money on repairs or replacements.
Identifying Your Vacuum Type
Before cleaning your vacuum, know its type. This ensures proper care. Each type has unique needs. Let’s identify yours.
Upright Models
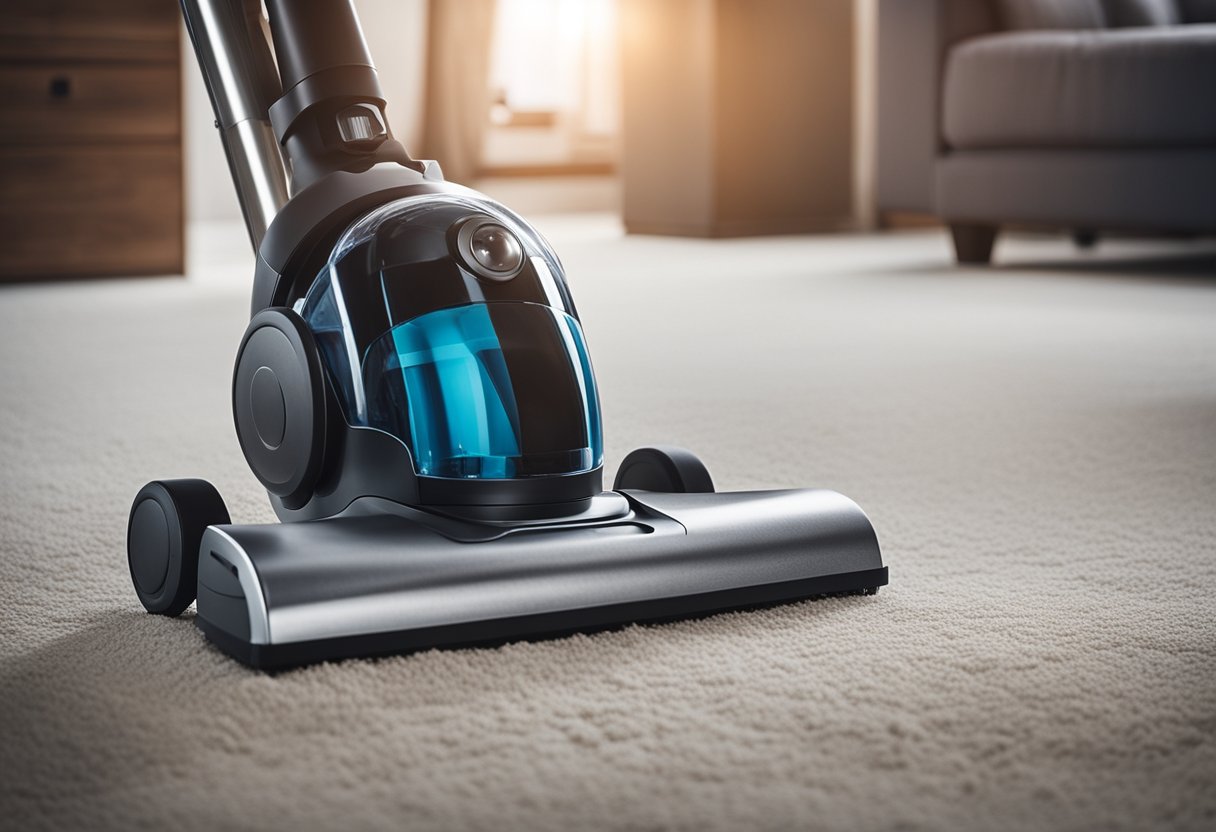
Upright vacuums stand tall. They are powerful cleaners. Perfect for homes with carpet. They have a foot lever to adjust height.
Canister Varieties
Canister vacuums have a separate unit for the motor and receptacle. They are versatile. Good for stairs and hard-to-reach places.
Handheld And Stick Vacuums
Handheld and stick vacuums are light. Ideal for quick clean-ups. They work well on surfaces like sofas and car interiors.
Robotic Cleaners
Robotic vacuums do the work for you. They navigate around your home. They are smart and save time.
| Vacuum Type | Features | Best For |
|---|---|---|
| Upright | Powerful, Height Adjustment | Carpets |
| Canister | Versatile, Separate Unit | Stairs, Hard-to-Reach |
| Handheld/Stick | Lightweight, Portable | Quick Clean-ups, Surfaces |
| Robotic | Automatic, Smart | Time-Saving |
Preparation For Cleaning
Before diving into the cleaning process, proper preparation is key. A vacuum cleaner, like any other appliance, requires a thoughtful approach for a safe and efficient clean-up. The right tools and safety measures ensure the task goes smoothly. Let’s set the stage for a successful vacuum cleaning session.
Gathering Necessary Tools
A clean vacuum works best. To start, gather these tools:
- Screwdriver: For disassembly.
- Brush: To dust off parts.
- Microfiber cloth: For wiping surfaces.
- Soap: To clean washable filters.
- Scissors: To cut tangled hairs.
- Trash bag: For debris disposal.
Safety Precautions
Stay safe while cleaning. Follow these steps:
- Unplug the vacuum cleaner.
- Empty the canister or change the bag outside.
- Check for damaged parts before cleaning.
- Keep water away from electrical components.
Taking these precautions prevents accidents and damage to your vacuum cleaner. Now, you’re ready to begin the cleaning process.

Credit: www.wikihow.com
Emptying And Cleaning The Dust Container
Maintaining a vacuum cleaner is key for optimal performance. An essential task is emptying and cleaning the dust container. Regular cleaning prevents clogs and maintains suction. Let’s dive into the step-by-step process.
Detaching The Container
Start by turning off and unplugging your vacuum cleaner. Locate the release button or mechanism for the dust container. Press or slide this, then gently remove the container from the vacuum body.
Removing Debris
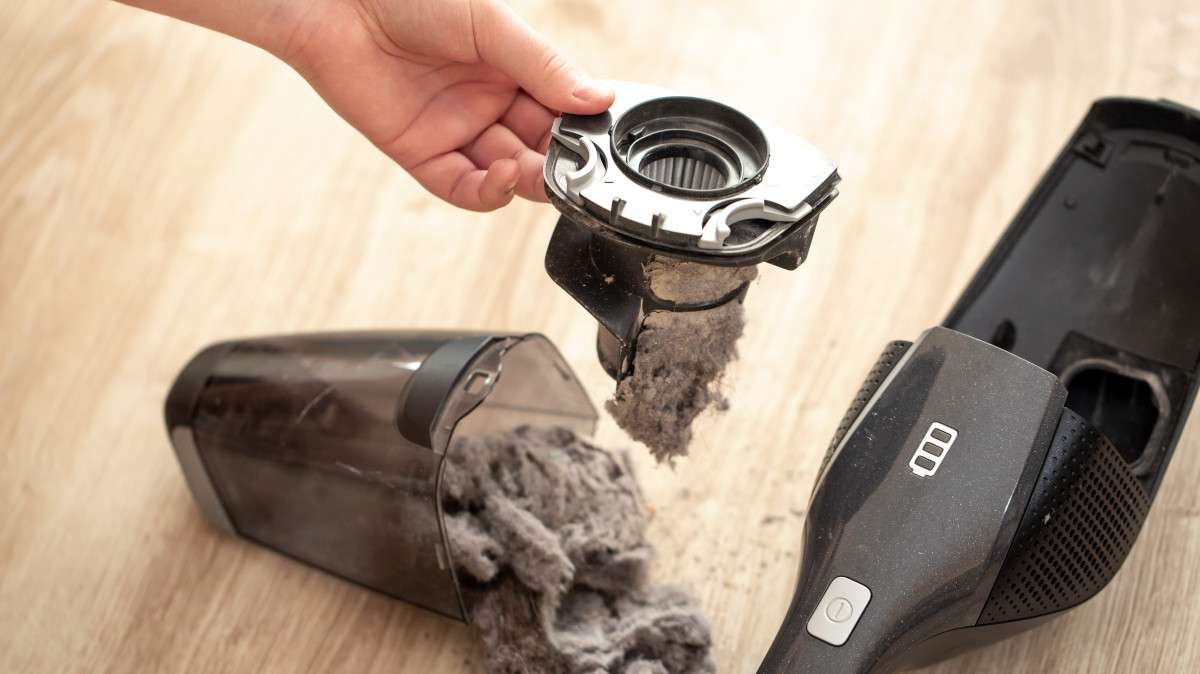
Empty the container over a trash can. Tap it lightly to dislodge stuck particles. For stubborn debris, use a dry cloth or a soft brush to gently clean the interior.
Washing And Drying
Check the manufacturer’s guide to ensure the container is washable. If so, rinse it with warm water. Use a mild detergent for a deep clean. Ensure no water remains before reassembling. Air dry completely or use a dry cloth.
Reattach the dust container once it’s dry. Ensure it clicks back into place securely. Your vacuum cleaner is now ready for use, with improved efficiency and cleaner air output.
Filters: Care And Replacement
Maintaining your vacuum cleaner’s filters is key to its performance. Care and replacement of filters ensure your machine works well. Let’s dive into how to keep your vacuum’s filters in top shape.
Locating The Filters
First, find your vacuum’s filters. Most vacuums have more than one. Check your vacuum’s manual. It tells you where each filter is. Remember, safety first. Always unplug your vacuum before you start.
Cleaning Washable Filters
- Remove the filter carefully.
- Rinse it under cold water. Don’t use soap or detergents.
- Squeeze out excess water gently. Do not twist or wring.
- Let the filter dry completely. This might take 24 hours.
- Once dry, put the filter back in your vacuum.
Tip: Never put a wet filter back into the vacuum.
Replacing Non-washable Filters
- Identify if your filter is non-washable. Check the manual if unsure.
- Buy the correct replacement filter. Use the model number for accuracy.
- Remove the old filter and dispose of it properly.
- Insert the new filter as per the instructions in your manual.
Remember, replacing filters regularly keeps your vacuum cleaning efficiently.
Brush Roll Maintenance
Brush roll maintenance is crucial for a vacuum cleaner’s performance. Over time, brush rolls can collect hair, strings, and debris. This can hinder the vacuum’s effectiveness. Regular cleaning ensures optimal functionality. Follow these steps to maintain your brush roll.
Removing Hair And Strings
- Turn off and unplug your vacuum cleaner.
- Remove the brush roll as per the user manual.
- Use scissors to cut away tangled hair and strings.
- Be careful not to damage the bristles.
- Clear debris from the ends of the brush roll.
Checking For Damage
- Inspect the brush roll for wear and tear.
- Look for signs of melting or cracking.
- Replace the brush roll if damage is found.
Lubricating If Necessary
Some brush rolls require lubrication. Check your model’s guide. If needed, apply a small amount of lubricant to the ends of the brush roll. Ensure smooth rotation. Do not over-lubricate. Reassemble the vacuum cleaner.
Cleaning The Hose And Attachments
A clean vacuum keeps your home dust-free. But what about the vacuum itself? It’s time to focus on the hose and attachments, areas that often get overlooked. These parts can trap dust and debris, affecting performance. Follow these simple steps for a thorough cleaning.
Unclogging The Hose
First, detach the hose from the vacuum. Straighten it out to check for blockages. Shine a flashlight through one end. If light doesn’t pass through, there’s a clog.
Gently push a broomstick through the hose to dislodge any obstruction. Do not use sharp objects; they can damage the hose.
Washing Attachments
- Remove attachments from the hose.
- Soak in warm, soapy water for 15 minutes.
- Use a soft brush to scrub away grime.
- Rinse with clean water.
Drying Before Reassembly
After washing, lay attachments out to dry. Ensure they’re completely dry before reattaching. Moisture in vacuum parts can cause mold.
Hang the hose up to air dry. Gravity helps water drip out. Speed up the process with a hairdryer on a cool setting, if needed.
Inspecting And Cleaning The Exterior
Keeping your vacuum cleaner in top shape starts on the outside. A clean exterior means a longer-lasting, more efficient machine. Follow these steps to inspect and clean your vacuum cleaner’s exterior properly.
Wiping Down The Body
- Turn off and unplug your vacuum cleaner first.
- Grab a soft, damp cloth. Avoid harsh chemicals.
- Gently wipe down the entire body of the vacuum.
- Focus on sticky spots or dirt build-up.
- Let it dry completely before using it again.
Checking For Cracks And Damage
- Inspect the vacuum’s body for any cracks or damage.
- Check the hose and attachments too.
- Look at the wheels for smooth movement.
- Notice loose parts? Secure them or replace if needed.
- If you find major damage, consider professional help.
Troubleshooting Common Issues
Cleaning a vacuum cleaner ensures it works well. Sometimes, vacuums encounter issues. These may affect performance. Let’s troubleshoot common problems you might face.
Loss Of Suction
Loss of suction in a vacuum can be frustrating. A few steps can fix this:
- Check the bag or bin. Empty it if it’s full.
- Examine filters for clogs. Clean or replace them as needed.
- Inspect the hose. Remove any obstructions.
- Check for blockages in the vacuum head. Clear away debris.
Strange Noises
Strange noises often signal a problem. Here’s what to do:
- Turn off the vacuum. Unplug it for safety.
- Open the unit. Look for trapped objects or broken parts.
- Inspect the belt. Replace it if it’s damaged.
- Consult the manual. It may offer specific advice for your model.
Persistent Odors
Persistent odors can make vacuuming unpleasant. Eliminate them with these tips:
| Action | Details |
|---|---|
| Clean Filters | Wash or replace to remove odor-causing buildup. |
| Empty Bag/Bin | Dispose of old debris that may be causing smells. |
| Use Baking Soda | Sprinkle inside the bag/bin to neutralize odors. |
| Check for Mold | If present, clean the vacuum thoroughly to remove. |

Credit: restorationbeauty.com
Final Steps And Reassembly
Now that your vacuum cleaner is spotless inside and out, it’s time to put it back together. Follow these steps to ensure your machine is assembled correctly and ready for its next use. Proper reassembly is key to a vacuum cleaner’s performance.
Reassembling Parts
- Check all components are dry.
- Place the filter back into its housing.
- Attach the dust container or bag to the vacuum.
- Secure hoses and attachments.
- Ensure seals are tight to prevent air leaks.
Storage Tips
- Store your vacuum in a dry, cool place.
- Coil the cord loosely to avoid damage.
- Keep attachments together for easy access.
- Avoid placing heavy items on the hose.
Schedule Next Cleaning
Mark your calendar for the next clean-up. Regular maintenance keeps your vacuum running smoothly. Aim for a thorough cleaning every three months. A well-maintained vacuum ensures a clean home.

Credit: amerisleep.com
Frequently Asked Questions
How To Clean A Vacuum Cleaner Step By Step?
Unplug the vacuum cleaner. Empty the dustbin or replace the bag. Clean or replace the filter. Detangle hair and debris from the brush roll. Wipe down the exterior with a damp cloth.
How Do You Clean A Vacuum Cleaner Arrange The Steps In The Correct Order?
Unplug the vacuum cleaner. Empty the dust container or replace the bag. Clean or replace filters. Wipe down the exterior. Check and clear hoses and attachments.
How To Clean Bagless Vacuum Cleaner?
Unplug the vacuum and empty the dustbin. Wash filters with warm water and let dry. Use a cloth to wipe the interior. Clear the brush roll of debris. Reassemble once everything is dry.
How Do You Clean Vacuum Components?
To clean vacuum components, first, unplug the vacuum. Empty the dustbin or replace the bag. Clean filters under running water if washable, or tap out debris. Use a soft brush for crevices. Let all parts dry completely before reassembling.
Conclusion
Maintaining a clean vacuum ensures peak performance and longevity for your appliance. By following the step-by-step guide provided, you can keep your machine running smoothly. Remember, regular checks and cleaning not only extend your vacuum’s life but also enhance the cleanliness of your home.
Embrace these simple routines to make the most out of your cleaning sessions.
